No need to go to film school
You don’t need to hire a professional video maker to whip up your own movie. You can do it on your own and if you think you need to spend a dime for this project, you’re mistaken.
Today, you’ll learn how to make pictures into a movie the easy way. With this approach, you can admire your pictures in a more enjoyable way.

What You Need
A USB cable, pictures (in a folder or digital camera), and video-editing software are the things you need to make a movie out of your pictures.
You can go with any video editor, but you should consider using Windows Movie Maker or a built-in program. Doing so means you won’t have to download a third party tool for this project.
The Process
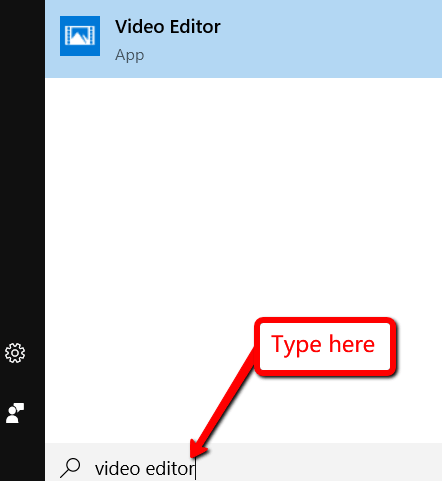
- To begin, launch your video editor. You can do this by typing video editor once you press the Win key.
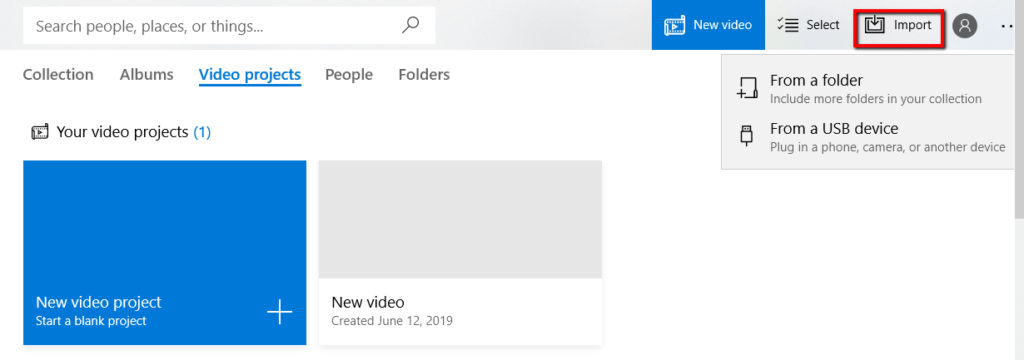
- Then click on Import.
- If you’ve already loaded the pictures that you want to use into a folder in your computer, choose to Import from a folder. If they are still in your digital camera’s memory card, choose to Import from a USB device.
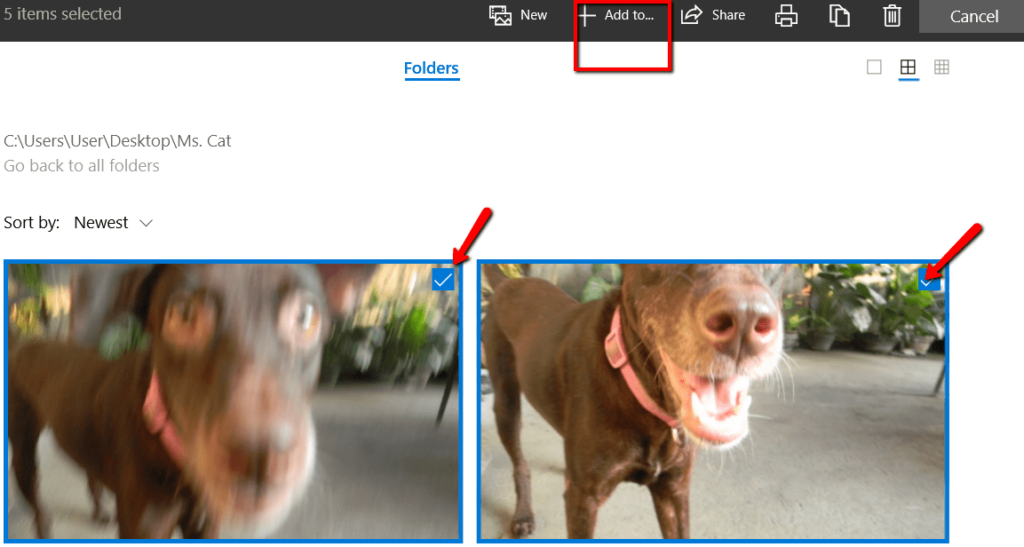
- Select the pictures that you want to add to your movie by ticking the box on the upper right of the photo. Then, choose + Add to.
- A window will then appear. It asks you to specify where you want to add the selected pictures. There, choose New video with music.

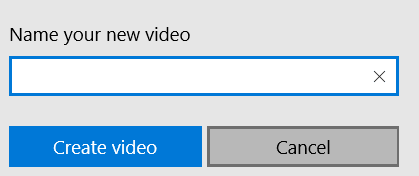
- You will then Name your new video. After you enter a name, click Create video.
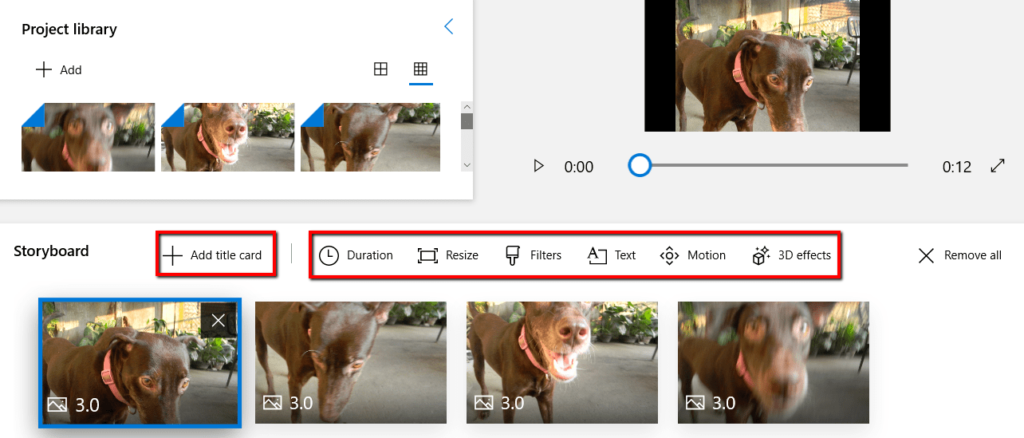
- Once you enter the basic details for your movie, you will get access to your Storyboard. Here, you can edit your movie using the many options presented to you.
- Here, you get to play around as much as you want. You can + Add title card, set your movie’s Duration, Resize, use Filters, add Text, select Motion, and add 3D effects.
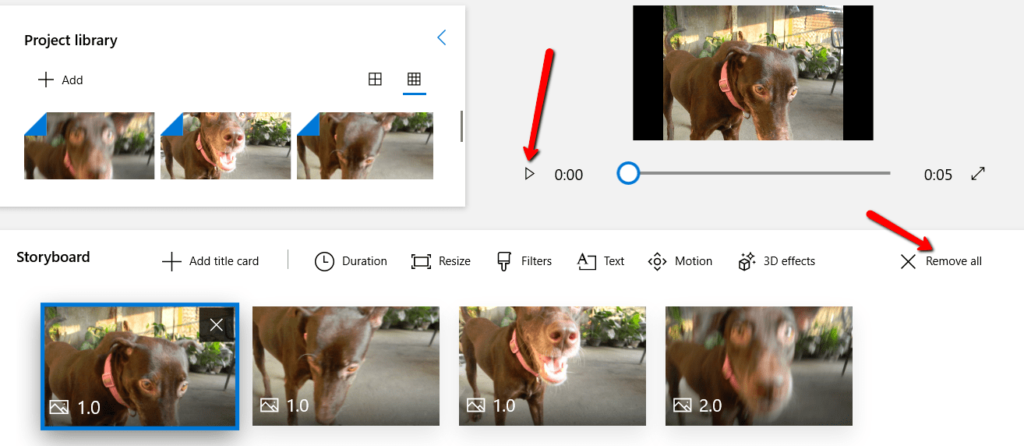
- What you do during this stage is not final. You can always check out your progress by clicking the play button. Doing so lets you watch your movie in action.
- If you want to erase all the edits you made, that’s fine, too. Just hit Remove all.
Reminder
Remember not to follow the instructions here word for word. As mentioned, the video editor used here is a Windows built-in program. You need to be mindful of the device you’re using.
If you’re using a Mac, you can also use its built-in movie maker. While the exact process may be different, the concept still remains.
Finishing Your Movie
- If you’re 100% satisfied with the movie, you can wrap things up. Choose Finish video from the top.
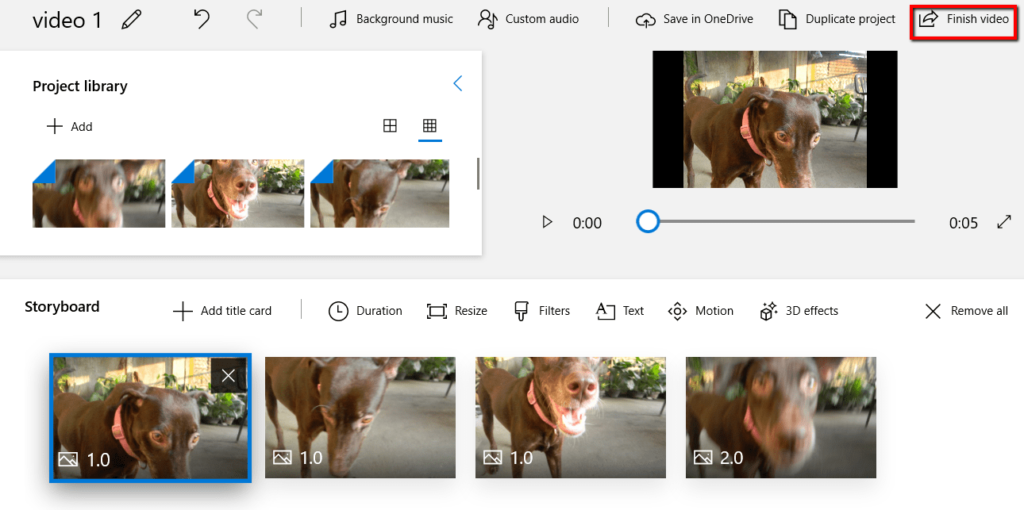
- A window will then appear. It will present you with the different options for your finished project. Choose the one that fits your purpose.


