A virtual machine can protect your privacy and keep your safe from viruses/malware
I’ve previously written about converting your Windows PC into a virtual machine and installing a fresh copy of Windows in a virtual machine, but what if you have a Mac and you want the same benefits of running OS X in a virtual machine?
As I mentioned earlier, running another copy of the operating system in a virtual machine can help you in two ways: protect your privacy and keep your safe from viruses/malware. Starting with OS X Lion (10.7), you can install the operating system as many times as you like into a virtual machine as long as it is on the same hardware.
So if you have a MacBook Pro with OS X El Capitan installed, you can install as many copies of El Capitan into virtual machines on that same machine. In this article, I’ll walk you through the steps to get OS X installed using VMware Fusion. There is a free program called VirtualBox, but it has some drawbacks.
VMware Fusion is not free, but has more features and is generally more powerful and easier to use than VirtualBox. VirtualBox requires using Terminal commands to get OS X installed. In addition, it doesn’t even work properly for the latest version of OS X.
Note that there are two ways to install OS X on VMware fusion: download OS X from the App Store and use that for installing or to use the recovery partition to reinstall OS X. I’ll explain both methods in this post.
Download OS X
You can install OS X Lion, Mountain Lion, Mavericks, Yosemite, or El Capitan into a virtual machine on your Mac computer. Before you get started with the download method, you need to grab a copy of the OS X installer from the App Store.
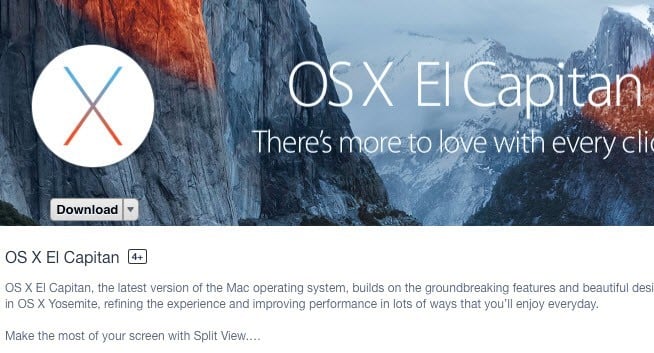
To do this, open the App Store and download your version of OS X. In my example, I am running El Capitan, so that is what I will download. It’s listed on the right hand side in the list of links.
Click the Download button and the install app will be downloaded to your Applications folder in OS X. The download will be several GBs in size, so it could take a while for the download to complete.
Install OS X in VMware Fusion
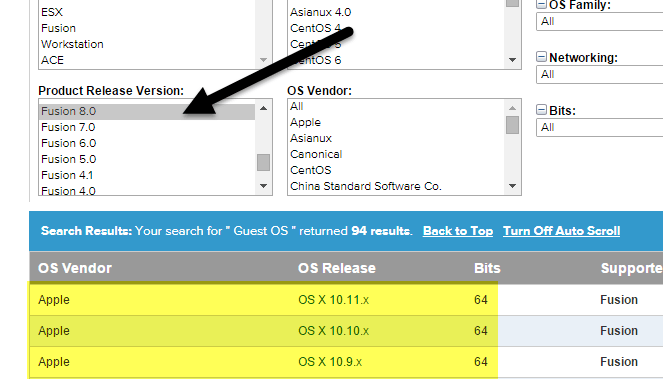
Note that you will need VMware Fusion 8 installed if you want to install El Capitan. You can always check the Compatibility Guide to see which operating systems are supported by different versions of VMware software. Simply scroll down the Product Release Version list box and choose your version of VMware Fusion.
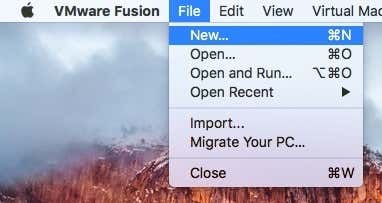
Now open VMware Fusion and then click on File and New to start creating a new virtual machine.
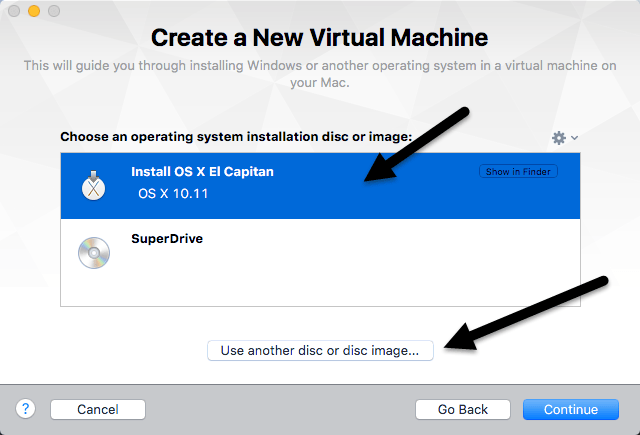
A window will pop up where you can either install from a disc or image or you can choose from a couple of other options.
Here is where we can go either of two ways. If you downloaded OS X from the App Store, you’re going to choose Install from disc or image. If you simply want to use the recovery partition on your Mac, you’re going to choose Install OS X from the recovery partition.
Install from Disc or Image
Select this option and then click Continue. You’ll now need to choose the disc or image to continue the install. Go ahead and click on the Use another disc or disc image button at the bottom of the screen and browse to the location of the OS X install app, which should be located under the Applications folder.
Click Open and it should now show up in the list. You can now select it and click Continue to start the installation.
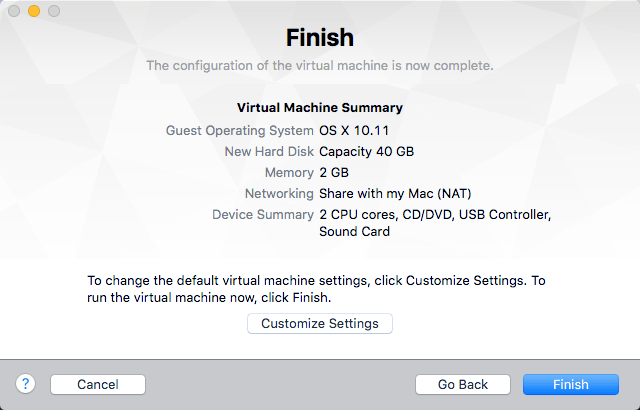
The last screen of the wizard will give you a summary of all the settings.
If everything looks good, go ahead and click Finish to start the virtual machine. You’ll be asked to save the virtual machine so give it a name and pick a location. Click Save and the virtual machine should start up after a few minutes. You’ll then see the Apple logo appear and the progress bar.
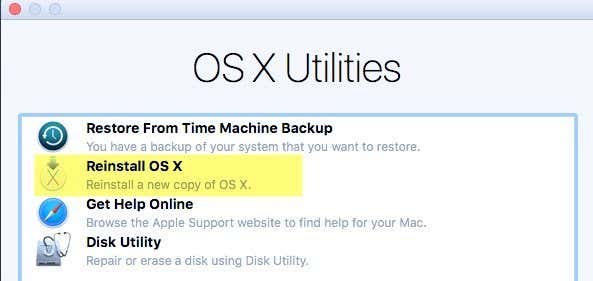
Once this finishes, you’ll get the screen where you choose your language. Click the arrow and you’ll see the OS X Utilities screen.
Choose Install OS X and click Continue. Now you’ll get the installation screen for your version of OS X. Click Continue to start the installation.
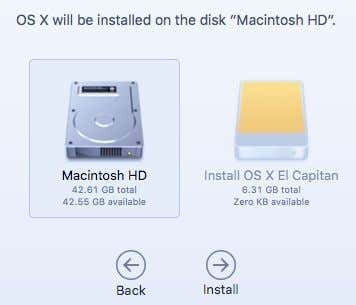
Agree to the license agreement and then choose the hard drive you want to install OS X to. It should say Macintosh HD and be the size you setup for the virtual machine.
Click Install and OS X will now be installed. The virtual machine will restart and you’ll get the Apple logo again with a progress bar. Once the installation is complete, OS X should load up and you should be able to log into the desktop. Whew! Kind of a long process, but pretty straight-forward.
Install from Recovery Partition
If you choose the Install from recovery partition option, the procedure is pretty much the same. First, it will load a screen where it will look for the recovery partition and if it finds it, it will bring up a dialog to save your virtual machine. Give the virtual machine a name and location and click Save.
Next, you’ll get the same Finish configuration screen like shown above where it gives you a summary of the virtual machine settings. Click Finish and the virtual machine window will load up.
Next, the Apple logo will appear with the progress bar. Again, you’ll get the screen where you have to choose your language and then the OS X Utilities screen. The only difference here is that you choose Reinstall OS X instead of Install OS X, which is the option in the previous method.
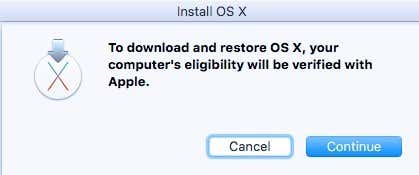
Now you’ll get the same OS X install screen, so click the Install button to continue. For this method, however, you have to download OS X off Apple’s servers. So you’ll get a message stating that your eligibility has to be verified. Click Continue.
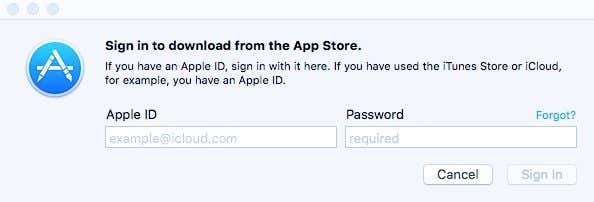
Accept the license agreement and then choose the hard disk you want to install OS X onto. Click install and then you’ll get a screen where you have to sign into the Apple store.
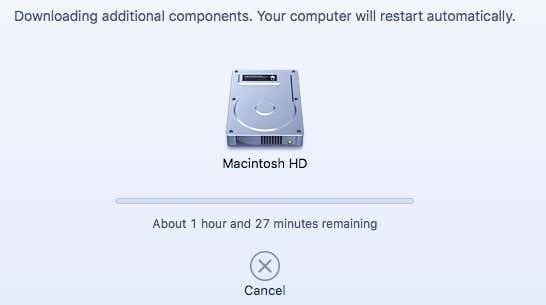
At this point, OS X will be downloaded and it could take a while depending on your Internet connection.
After it finishes, the virtual machine will restart and the Apple logo and progress bar will appear. OS X will install and you’ll be able to login once the installation is complete. It does take quite a bit of time to setup OS X in a virtual machine, but it works well.
After you are done and your virtual machine is loaded, you need to click on Virtual Machine and then Install VMware Tools. This will install the OS X virtual machine tools, which allows you to increase the resolution to HD and allows the virtual machine to run more smoothly.
Hopefully, this article will help you get OS X running properly in a virtual machine on your Mac. It’s possible to install OS X on a PC, but it’s not legal and it’s much more difficult, especially with the latest versions of OS X. If you have any questions, feel free to comment. Enjoy!

