Some of the best features are hidden
Google Drive has become a big competitor to Microsoft Office 365 for both cloud storage and office software. One of the reasons for its popularity is because you can get to grips with the basics very quickly.
Whilst the basics may be easy to learn, many of the best features go unnoticed. In fact, there are dozens of features hidden within the menus of Sheets, Docs, and Google Drive itself.

Whether you’re looking to improve your productivity, want to know how to search for files quicker, or want tips for managing your cloud backups, Google Drive will be more powerful with some advanced Google Drive tips – we’ve picked out the best below.
Use Advanced Search Tools
One of the biggest issues you’ll hit when using Google Drive more frequently is finding files again. Thankfully, Google Drive has some advanced search functions you can use to pinpoint files.
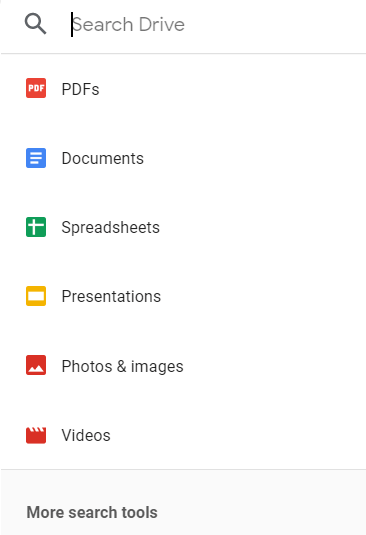
Click the search bar and click More search tools. You now have an extensive list of tools available for fine tuning your search. For example, you can choose a file type – this includes anything from Photos and presentations to .zip files and folders. You can also search for owner, useful for searching shared content.
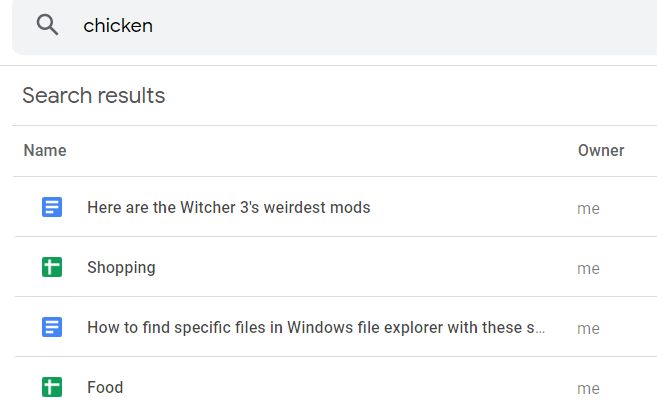
That’s just the beginning. You can also filter results by the last time files were modified, and also filter by text found within the file itself. For example, if you wrote an article about a specific recipe, but just remember a single ingredient you wrote within the article, you can find the recipe just by typing the ingredient itself.
Access History & Restore Backups In Google Docs & Sheets

Google Docs and Google Sheets will automatically save as you continue to work on your document. However, many people aren’t aware that you can click on the All changes saved in Drive text to see and restore past revisions.
Google Drive will automatically log all changes since the beginning of time, so long as you first created the file on Google Drive itself. And with just a single button you can restore older versions. Alternatively, just scroll through past revisions and click on each one to have all changes highlighted.
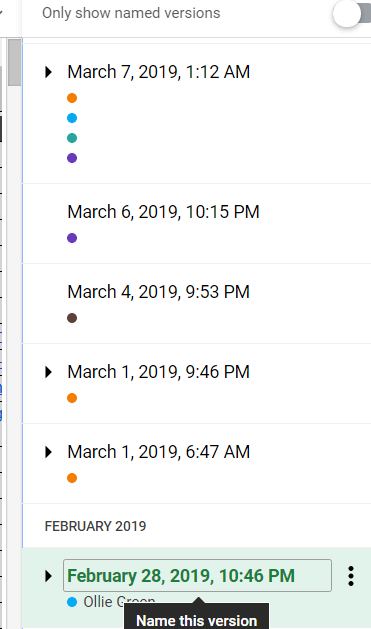
This can be useful for when you scrap old text that you need again in the future, or if you need to check past edits for any missing details. You can also click on any previous revision and rename it so that it’s easier to find and manage in the future.
Restrict Permissions To Certain Cells In Google Sheets
It’s very easy to share Google Sheets and Docs files to collaborate with others. Just click File > Share > Get Shareable Link. However, as soon as you set the permissions for anybody with that link to be able to edit your document, they can make changes to absolutely anything by default.
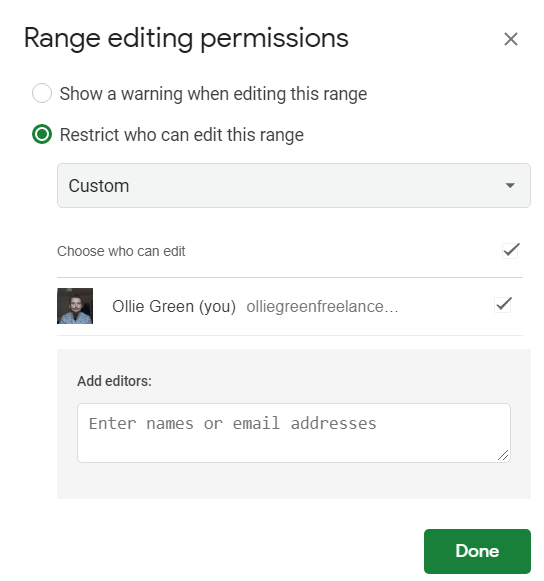
In Google Sheets, and hopefully Google Docs in the future, you can manually lock down certain sections so that nobody but the original owner can edit it. This could be very beneficial for when you’re working on a document with a big group, but need certain ranges protected from accidental deletion.
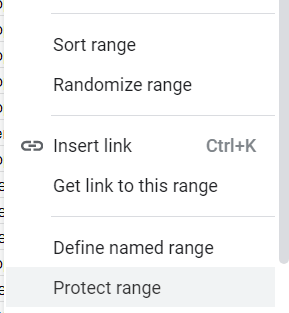
To start, click and drag the area you’d like to protect, right click and then click Protect Range. From there, a new panel will open on the right side of your screen. Give the range a description so you can understand what it is later, and then click Set permissions.
You can now set the range to be only be editable by the owner, useful for pinned columns and rows. Or you can set permissions for specific people via email, useful if you want to lock down certain pages or rows for different tasks.
Quickly Create New Content With Quick Links

if you want to quickly create a document without visiting Google Drive and going through the user interface, you can save time by typing the following address into your browser address bar. Make sure you’re signed into the right Google account before doing this.
- Doc.new – New Google Docs project
- Sheets.new – New Google Sheets project
- Presentation.new – New Google Presentation
- Sites.new – New Google Sites project
After using these links just once, they’ll appear as suggestions again when you next type them into your browser address bar. So creating a new document could be as easy as typing D into your browser address bar.
Just remember, you’ll need to move the document to a folder later if you’d like to organize your files a little better.
Convert Word To PDF Or PDF To Word Document
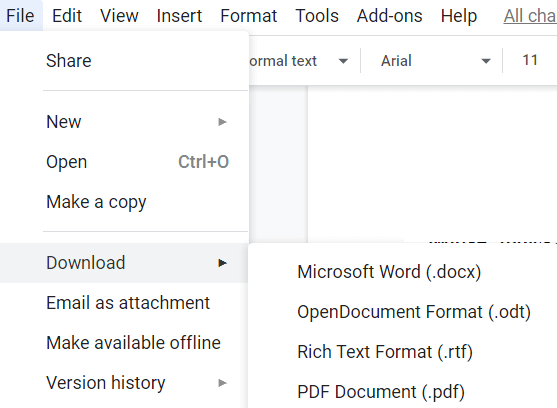
Once you’ve finished with a Google Docs document, you can turn it into a PDF very easily. Simply click File > Download > PDF. There are also many options here for other file formats, including plain text (.txt), an EPUB publication (.epub) and a Microsoft Word file (.docx).
You can also do it the other way around by uploading a .PDF file to your drive, and then clicking it to open the preview, and click Open With Google Docs. The result you get in Google Docs will depend on how the .PDF file was created, but sometimes you will be able to edit the text within the PDF and also edit other elements.
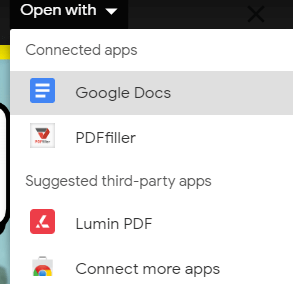
Sometimes, the import may just show up as a blank page. This usually happens if an image has been converted to a PDF. After you’ve finished with editing, just click File < Download and choose a suitable file type.
Create Drawings Or Diagrams Easily

It’s probably best to use a third party tool if you need detailed graphics, but if you need to be quick, clicking Insert < Drawing < New can be a fast way to create a drawing.
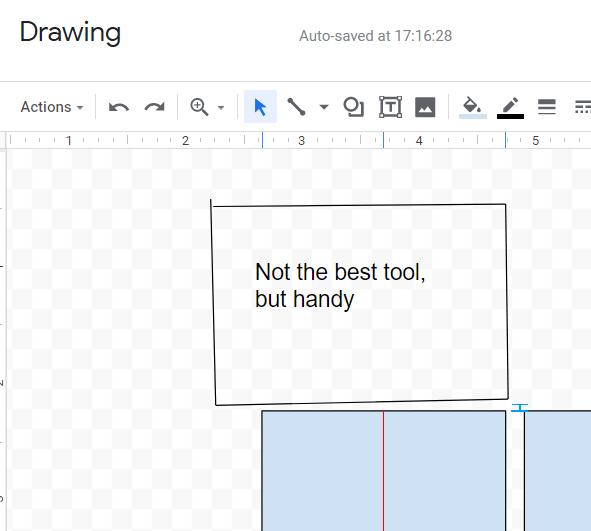
You are given the tools to draw, create basic shapes, add text, and import other images too. There are even tools for changing the position and size of shapes and lining up shapes for symmetry. Once you’ve done, you can click save and close and it will be imported to your document. This feature is available throughout the whole Google Drive apps suite.


